Hello everyone!!
today I'm sharing with you how you can create a Birthday magic slider card. I see these cards few times and I decided to try ... and to show you my step by step tutorial
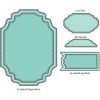
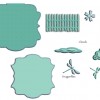
I used Birthday Gift Molli.
there is a list of all you need:
and...
white cardstock
design paper pad
acetate
dubble sided tape
score board
pencil
cutter
ruller
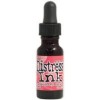
Distress inks: tattered rose, valnut stain
Zig Clean Color Real Brushes:
Step 1: Use your white cardstock to cut out the card base ... the dimension is 10 x 28 cm.
Fold it and create a card.
Step 2: Use your die ... drow the outline edge of the postage die in the center
and cut it out...
Step 3: Stamp the image on the acetate and on the watercolour paper.
I use StazOn black ink pad.
Now you have a card base, stamped images and the white "insert paper" which you use to slide...
Step 4: Cut out your design paper pad. The dimension is 10,7 x 13,7 cm.
Glue all the pieces.
Step 5: Colour your image stamped on watercolour paper then
glue it inside the card
Step 6: Glue the acetate...
Step 7: Cut the card on the top to open it in this way you have a posket to slides...
Cut out 3 stripes and glue them around the coloured image.
Now glue the front page...
... and here is the magic...
Thank you for visiting!
Hugs, Barbara GR


