

Hello everyone!!
today I'm sharing with you how you can create a Birthday magic slider card. I see these cards few times and I decided to try ... and to show you my step by step tutorial
I used Birthday Gift Molli.

there is a list of all you need:
and...
white cardstock
design paper pad
acetate
dubble sided tape
score board
pencil
cutter
ruller
Distress inks: tattered rose, valnut stain
Zig Clean Color Real Brushes:
Step 1: Use your white cardstock to cut out the card base ... the dimension is 10 x 28 cm.
Fold it and create a card.

Step 2: Use your die ... drow the outline edge of the postage die in the center


and cut it out...

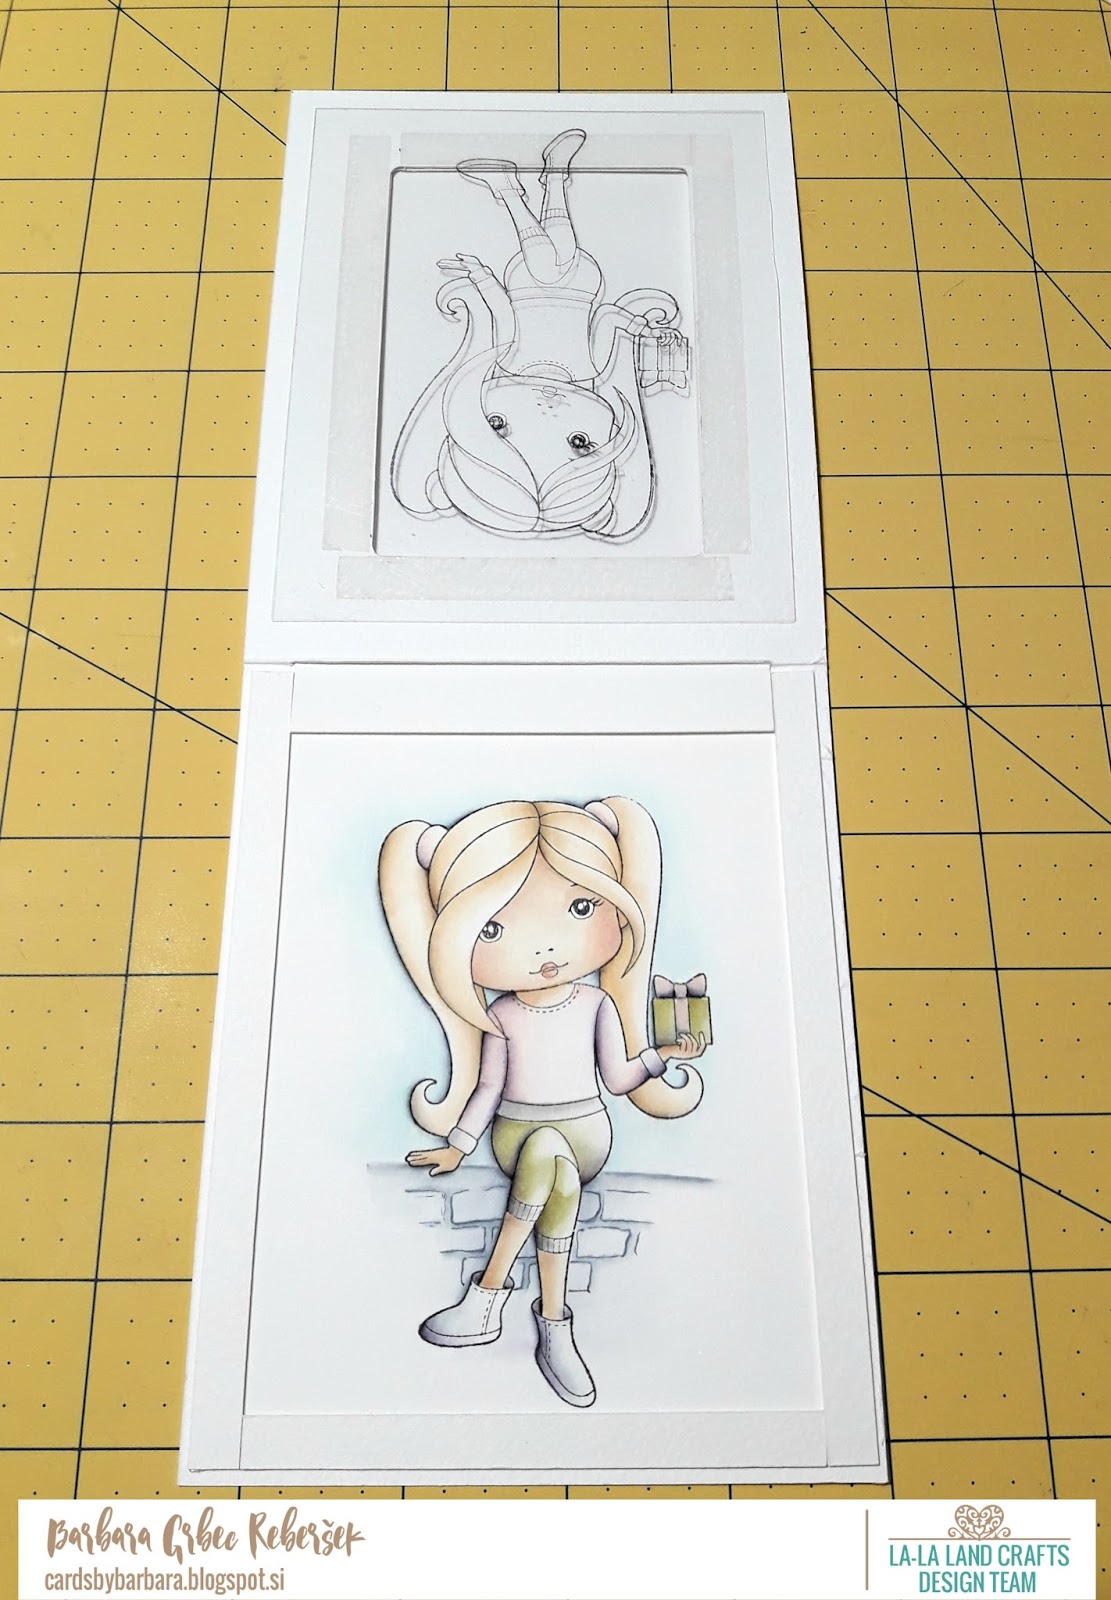
Step 3: Stamp the image on the acetate and on the watercolour paper.
I use StazOn black ink pad.


Now you have a card base, stamped images and the white "insert paper" which you use to slide...

Step 4: Cut out your design paper pad. The dimension is 10,7 x 13,7 cm.
Glue all the pieces.


Step 5: Colour your image stamped on watercolour paper then

glue it inside the card

Step 6: Glue the acetate...

Step 7: Cut the card on the top to open it in this way you have a posket to slides...


Cut out 3 stripes and glue them around the coloured image.

Now glue the front page...

... and here is the magic...


Thank you for visiting!
Hugs, Barbara GR
Barbara, hvala za nazoren prikaz izdelave zanimive voščilnice. Kako natančno se ti ujema nepobarvan in pobarvan del! Enkratna in nekaj posebnega.
OdgovoriIzbriši